Raspberry Pi Based Interactive Home Security System Circuit Diagram In this blog post, we will guide you through the seamless integration of these powerful components to create a robust, self-hosted security system that you control. Your Hardware Checklist. Embarking on the journey to enhance your home security with a self-hosted AI NVR camera system begins with gathering the right hardware.
The SmartCCTV project allows you to transform a Raspberry Pi into a cost-effective security camera CCTV system.. Raspberry Pi + OpenCV Face Recognition. OpenCV's face recognition capabilities leverage machine learning techniques to detect and recognize faces in images and videos. Using pre-trained models, it can efficiently identify faces in real-time, making it suitable for applications like

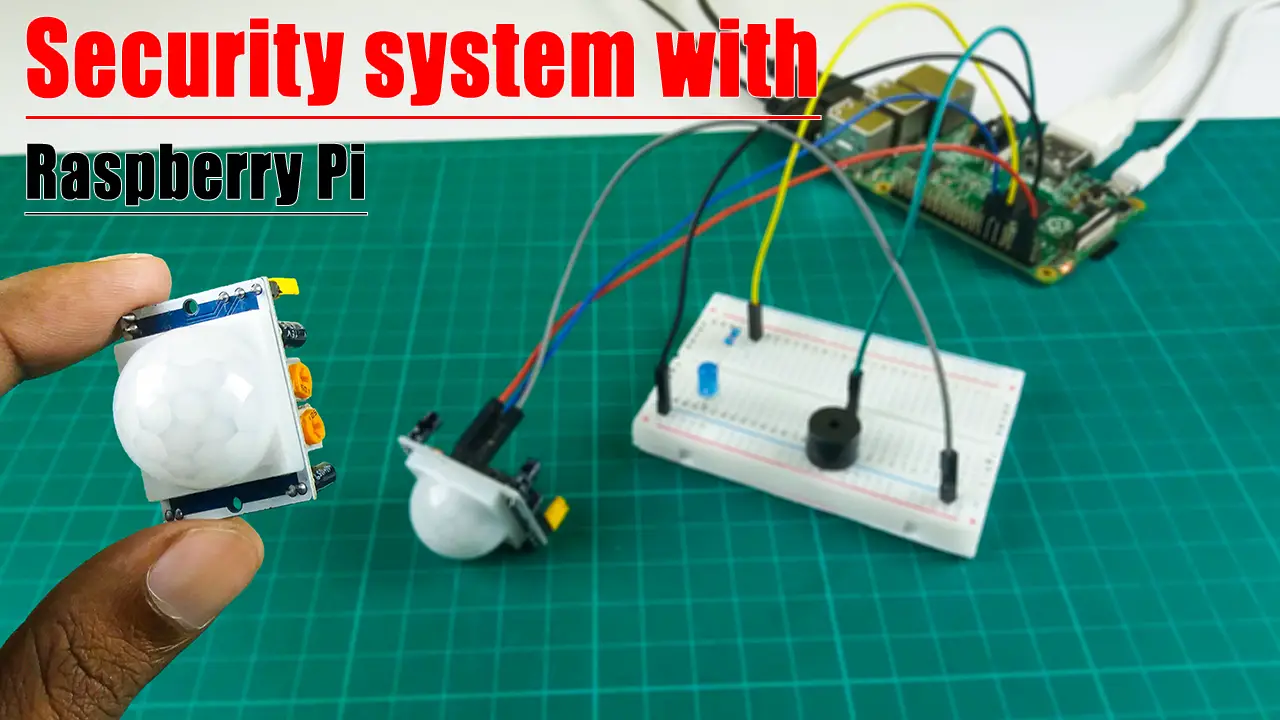
based smart home security system Circuit Diagram
With your Raspberry Pi 5 and the power of AI, you've built a smart surveillance system capable of detecting humans in real-time, logging data, and streaming video from multiple cameras.This system is scalable and customizable, allowing you to enhance its functionality with features like Grafana dashboards, notification alerts, or improved

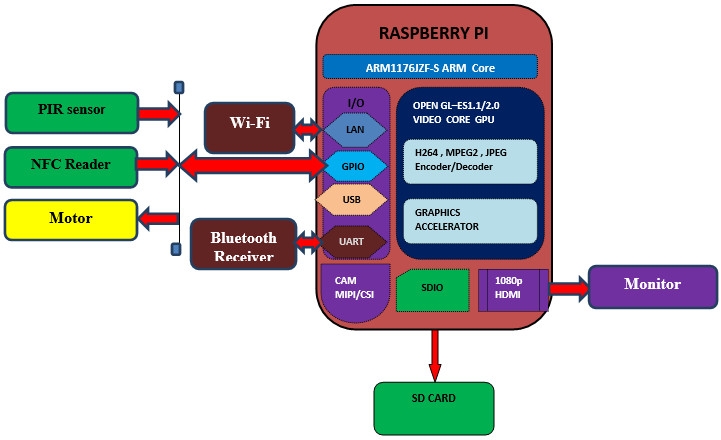
Fig. 2: List of Components required for Raspberry Pi 3 based IoT Home Security System. The Raspberry Pi establishes a connection with the Google Cloud using the TCP/IP stack. As the Raspberry Pi 3 has an onboard TCP/IP stack, it can seamlessly connect to an IoT network. OpenCV library is utilized on the Pi to capture images from the webcam and
Time AI Surveillance Camera with Raspberry Pi and ... Circuit Diagram
Our system is based on BerryNet, an open source AI system, so everything is transparent. Before starting the tutorial You will need to prepare the following devices to complete the tutorial: The intruder gets detected by the OpenCV AI Kit at 30 Frames per second, the video + the detections are sent over a USB C cable into the Raspberry Pi. The Raspberry Pi has connections to a speaker
